Contents
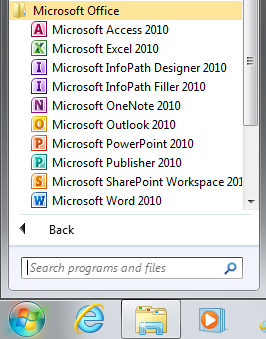
Starting MPP2010
(Expected duration: 1 minute)
- Click START button. Click ALL PROGRAMS. Click MICROSOFT OFFICE folder. When the submenu appears on screen, click Microsoft PowerPoint 2010.
You may proceed to the next exercise.
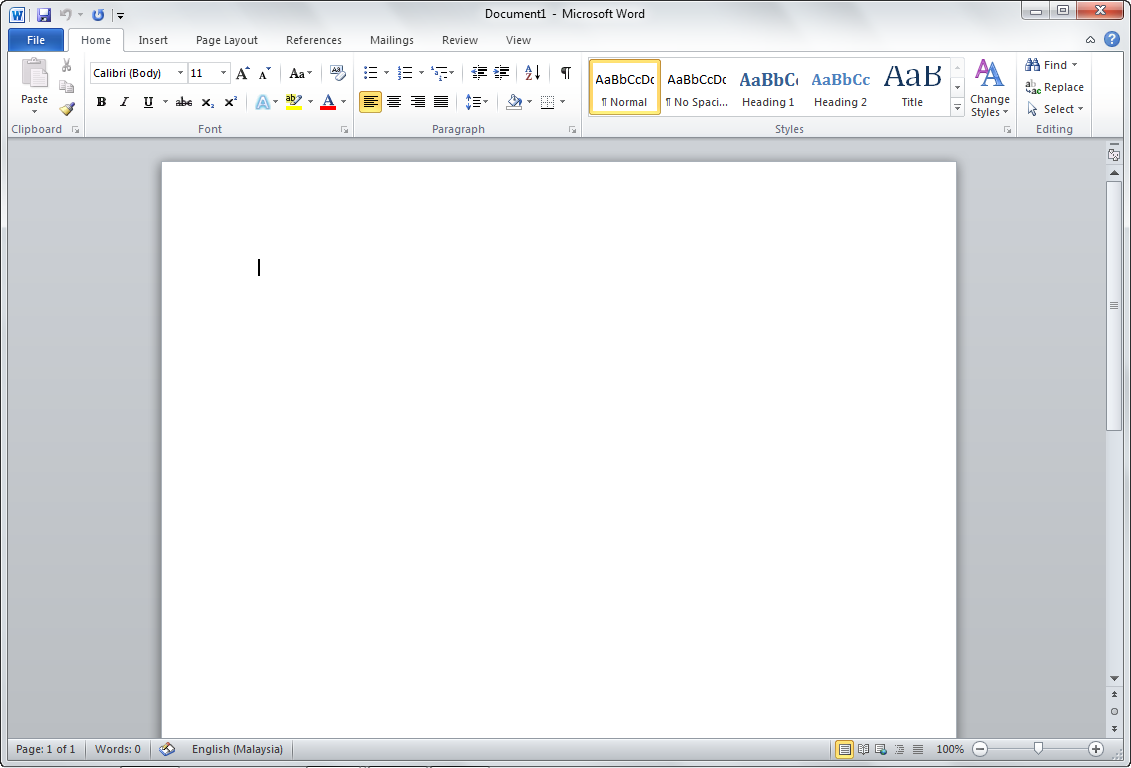
Application Interface
(Expected duration: 5 minutes)
- When MPP2010 starts, its application window will look like the following image.
- The meaning of each MW2010 application window component:-
No
|
Name
|
Description
|
1
|
Quick Access Bar
|
Displays commonly used short cuts
|
2
|
Title Bar
|
Displays Document Name and Application Name
|
3
|
Window Control Bar
|
Displays Close Button, Restore/Maximize Button and Minimize Button
|
4
|
Ribbon
|
Displays application menu. (The Show/ Hide button is marked by the triangle symbol (4a))
|
5
|
Slides/Outlines
|
Displays Slides/Outlines
|
6
|
Status Bar
|
Displays content options
|
7
|
Viewing Bar
|
Displays viewing options
|
8
|
Content Window
|
Display Slide Content
|
- Close MPP2010.
z
1
2
3
4
5
6
7
8
4aa
Creating New Presentation
- Start MPP2010.
- By default, MPP2010 will create a new document and assign a name “Presentation1” to it. You can check this by looking at the Title Bar.
- Notice the content window contains the following slide layout. It consists of the Title Text Box and Subtitle Text Box.
- Type “Nursery Rhyme” into the Title Text Box and “Introduction” into the Subtitle Text Box as follows.
- Notice the Slides/Outlines Panel. The slide preview shows the items that have been added through the Content Window.
- We are going to add a new slide. Right-click at the grey area within Slides/Outlines Panel. Choose New Slide.
- A new slide is added to the document. Notice that the new slide has a different layout, i.e. Title and Text Contents.
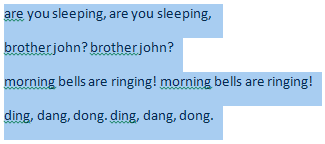
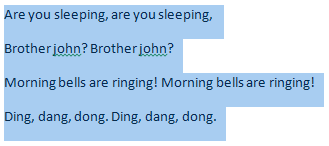
- Type “What is Nursery Rhyme?” into the Title Text Box and type the following text into the Content Text Box.
The term nursery rhyme is used for "traditional" poems for young children in Britain and many other countries.
- Add the third slide. Right-click at the Slides/Outlines Panel and choose New Slide. We are going to replace the “Title and Content” layout with “Two Content” layout. Point the mouse somewhere outside of the textbox. Right-click, choose Layout and then choose “Two Content”.
- The new layout will look as follows.
- Type “Nursery rhymes and education” into the Title Text Box. Type the following texts into the right Content Text Box.
Research supports the assertion that music and rhyme increase a child's ability in spatial reasoning, which leads to greater success in school in the subjects of mathematics and science.
- We are done with basic slide content preparation. Click the Save Shortcut button.
- We would like to run a slideshow now. Click the first slide in Slides/Outlines Panel. Click the Slideshow button located at the viewing panel at the bottom of the application window.
- The slideshow output will look like below. You can use mouse click to move to next slide. You can also use up and down arrow key to move back and forth.
- Save the document.
- Close MPP2010.
Applying Slide Theme
- Start MPP2010.
- Click File Tab>>Open. Browse for the file “nursery-rhyme.pptx” in the Tutorial folder.
- Click File Tab>>Save As. Save as “nursery-rhyme-angle.pptx”.
- We are going to apply a Slide Design to this document. Click Design Tab>>Themes and Choose “Angle” design.
- Run the slideshow. This time, instead of using mouse click, press F5 key.
- Save the document.
- Close MPP2010.


 *
* *
*
 *
* *
* *
* *
*
 *
*

 *
* *
* *
* *
*