Spelling and Grammatical Correction
Font Face and Size
Paragraph Setting and Text Alignment
Inserting Images
Header and Footer
Spelling and Grammatical Correction
(Expected duration: 45 minutes)
This tutorial guides you to perform spelling and grammatical correction.
Start MW2010.
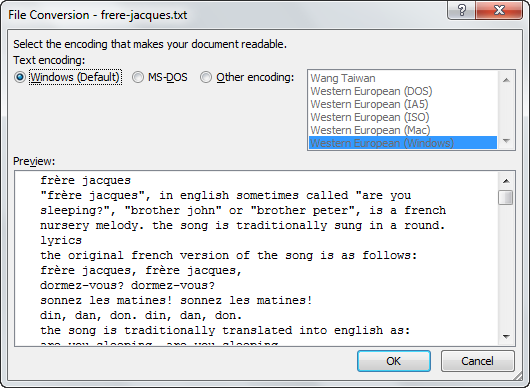
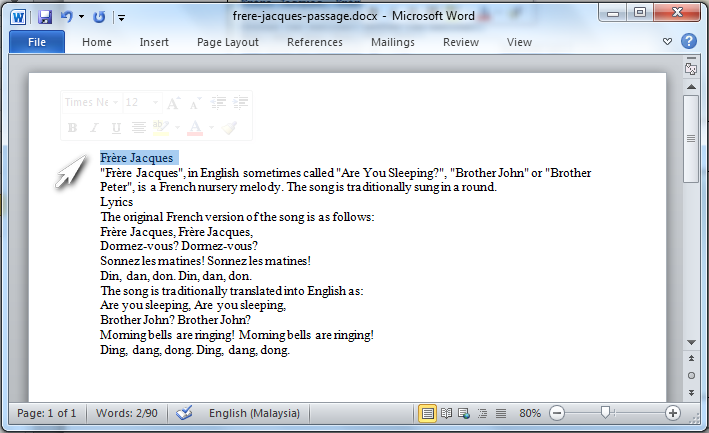
We are going to open the text file “frere-jacques.txt”. Locate the file in the tutorial folder. Ensure that the file type is *.txt (1).
1
 |
If the File Conversion Dialog Window pops up, Choose Windows (Default) Text Encoding and click OK.
 * * |
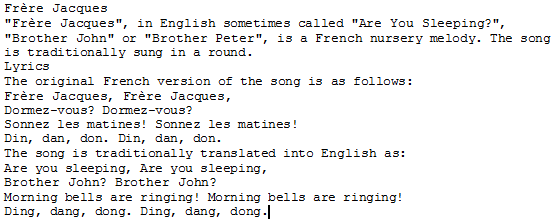
The content is displayed as follows.
 * * |
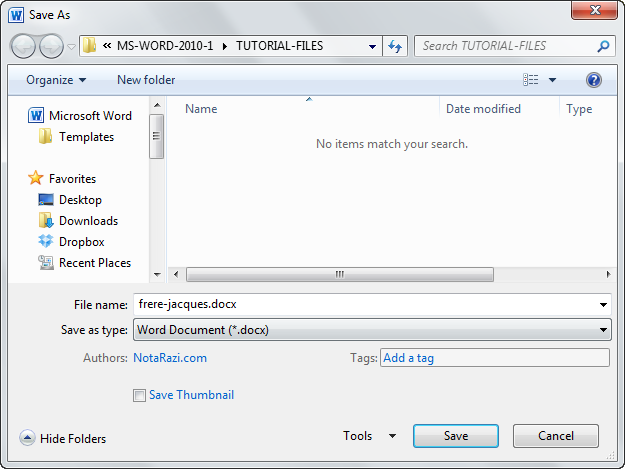
Before we edit the document, save it as “frere-jacques.docx”.
 * * |
Apply “Sentence Case” Format.
Move the mouse pointer to the beginning of the text, click and hold the left mouse button, drag to the end of the text and lift the finger from the mouse button. The texts will be highlighted as below. Alternatively, you may use keyboard shortcut [CTRL]+[A]. This will cause all the texts in the document to be highlighted.
Select Home Tab>>Font Group>>Change Case>>Sentence case.
 * * |
The result is as follows.
 * * |
Apply “Capitalize Each Word” Format.
The first letters of Proper nouns words are normally capitalized. In this passage, “Frère Jacques”, “Brother John”, “Are You Sleeping”, “English” and “French” are the examples of Proper nouns.
Highlight the proper nouns in the passage. To highlight a group of words press and hold [CTRL] key while highlighting the selected words.
 * * |
Select Home Tab>>Font Group>>Change Case>>Capitalize Each Word. The result is as follows.
 * * |
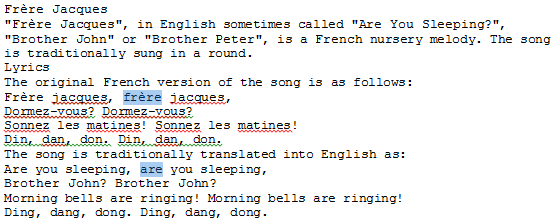
Notice that the letter “f” (in “frère jacques”) and “a” (in “are you sleeping”) in the following picture were not capitalized because MW2010 treated them as part of other sentences. Select both words.
 * * |
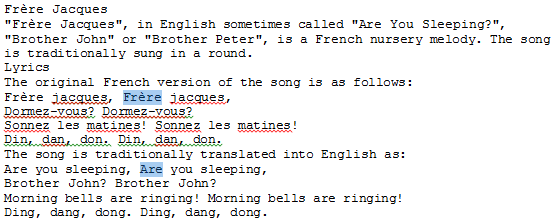
Select Home Tab>>Font Group>>Change Case>>Capitalize Each Word. The result is as follows.
 * * |
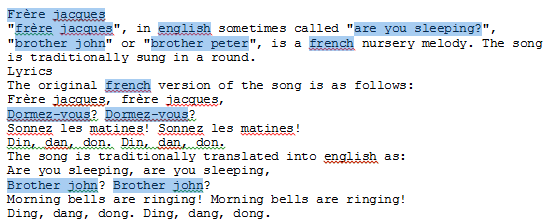
Notice the red and green zigzag underlines. A red zigzag means MW2010 thinks there is a spelling error. A green zigzag means MW2010 thinks there is a grammatical error. In both case, right-click on the word and select an option from the pop-up.
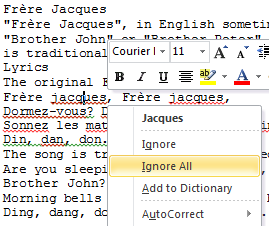
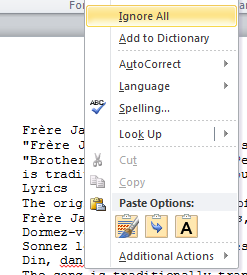
Notice that there is red zigzag under the word “jacquez”. The word Jacques is a French word. It is not a spelling error. Click the word Jacques, right-click and select. Ignore All.
 * * |
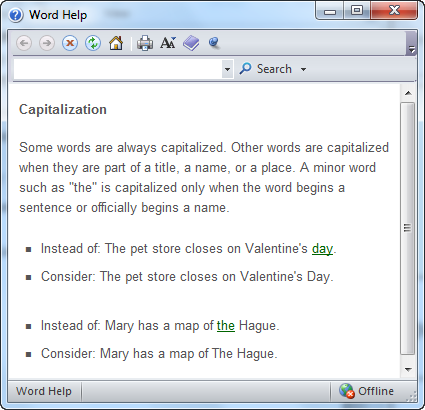
Notice that there is green zigzag under the word “jacques” now. Right-click and select “About This Sentence” option. The MW2010 Help Window pops up.
 * * |
Close the Help Window. Repeat the previous step and choose “Ignore Once” option. Do same thing to the second error.
 * * |
Notice the spelling error on the word “Dormez-vous”. Right-click the word. The first line on the pop menu says “There is no spelling suggestion” for these words. Choose “Ignore All”.
 * * |
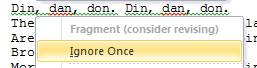
Notice the grammatical error on the word “Dormez-vous”. Right-click the word. The first line on the pop menu says “Fragment (consider revising)” for these words. However this is a special phrase of the song. Choose “Ignore Once”. Repeat the steps for the next “Dormez-vous” word.
 * * |
Notice the spelling error on the word “Sonnez”. This is a French word. Right-click the word and select “Ignore All”. Do the same for the word “matines”.
 * * |
Notice the phrase “Din, dan, don”. Right-click and select “Ignore Once”. Repeat the steps for the next “Din, dan, don” phrase.
 * * |
Finally, click the “dan” word, right-click and choose “Ignore All”.
 * * |
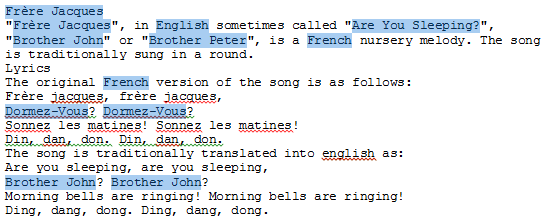
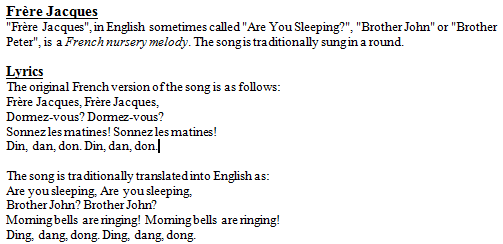
The result is as follows. All spelling and grammatical errors have been corrected.
 * * |
Save “frere-jacques.docx”and close MW2010.
Font Face and Size
(Expected duration: 45 minutes)
This tutorial guides you to perform Font Face and Font Size changes.
Start MW2010.
Open the file “frere-jacques-plain.docx” in the tutorial folder.
Notice that the ribbon is hidden. To hide the ribbon click on the Show/Hide button besides the help (?) button.
 * * |
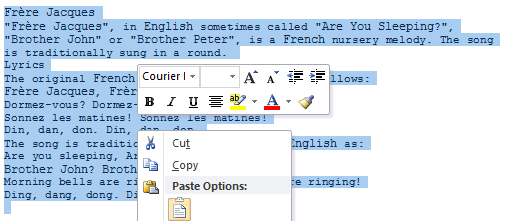
Select all texts and right-click. Notice that the Font Face is “Courier” and the Font Size is null. It means that the whole texts have similar Font Face but may not be having similar Font sizes.
 * * |
Select “Times New Roman” face and “12pt” size.
 * * |
We are going to select the first line of texts ("Frère Jacques") by a single mouse click.
Bring the mouse pointer to the left of the first line of texts until the mouse pointer switches its pointing to the right as shown in the picture below. Left-click and the line would be highlighted.
Click the B button (to make the text bold) and click on the U button (to underline the texts).
 * * |
You can press [ENTER] key to bring the text cursor to a new line. Inserting empty line in between texts is also a good practice to enhance text reading.
 * * |
We are going to select the fourth line of texts (“Lyrics”) by a single click as well. Follow step (7a) above. Set the font size to be 13 point. By default, the value 13 is not listed in the drop down list. You can type the value directly into the font size textbox. Click the B button (to make the text bold) and click on the U button (to underline the texts). Alternatively, you can use [CTRL] + [B] for bold and [CTRL] + [U] for Underline.
 * * |
We are going to select the phrase “French nursery melody” and make it italicised.
We will use keyboard input to highlight the texts. Click the mouse pointer to the left of the letter F. Press and hold [SHIFT] key and press and lift the right arrow key to right. Keep on pressing and lifting the right arrow key until the whole phrase is selected.
Click I to make the phrase italicised.
 * [SHIFT] + [RIGHT] + [RIGHT] + . . . * [SHIFT] + [RIGHT] + [RIGHT] + . . . |
The final output will be as follows.
 * * |
Save the document.
Close MW2010.
Paragraph Setting and Text Alignment
(Expected duration: 45 minutes)
This tutorial will guide you to set the line spacing and text aligning of a passage.
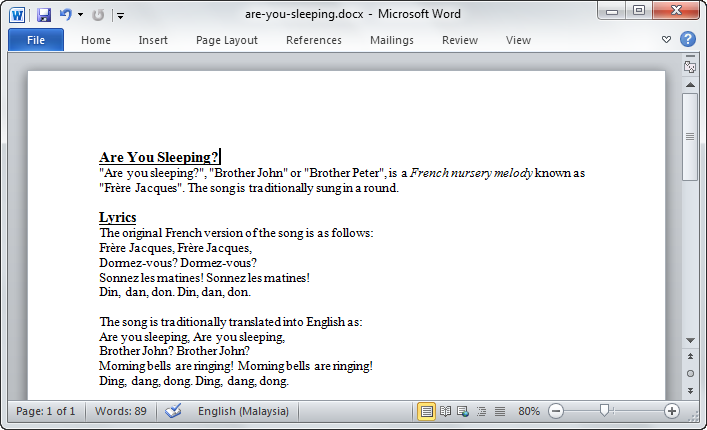
Start MW2010 and open file “are-you-sleeping.docx”.
 * * |
We will add a new text line on the top of the existing content. Place the mouse pointer besides the first line of the current content. Press [ENTER] for two times. Go back to the first line.
 * * |
Type “ARE YOU SLEEPING?”. Set the texts to be bold.
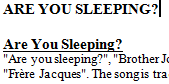 * * |
We will place the new text in the center of the line. Highlight the text “ARE YOU SLEEPING?” and right-click the item. The Font Toolbox pops up. Click the “Center” Alignment. Notice that the Short-cut key is shown on the screen ([CTRL]+E).
 * * |
The text has been centered.
 * * |
We are going to put the lyrics at the center as well. Highlight the French version of the lyrics. Right-click and choose “Center” Alignment.
 * * |
Repeat the same process for the English version of the lyrics.
 * * |
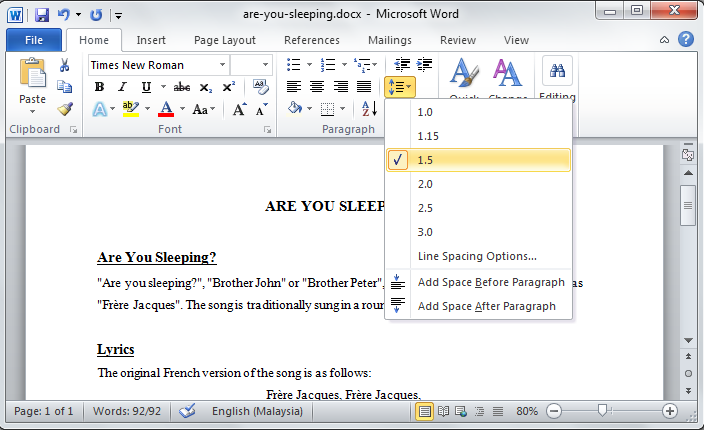
We will adjust the line spacing of the texts. Select ALL or press [CTRL] + [A] to select all texts. Click on Home Tab>>Line and Paragraph Spacing.
 * * |
When the button is clicked, a menu will pop up. Choose 1.5. Notice that the passage is adjusted in real time while the mouse pointer hover the menu.
 * * |
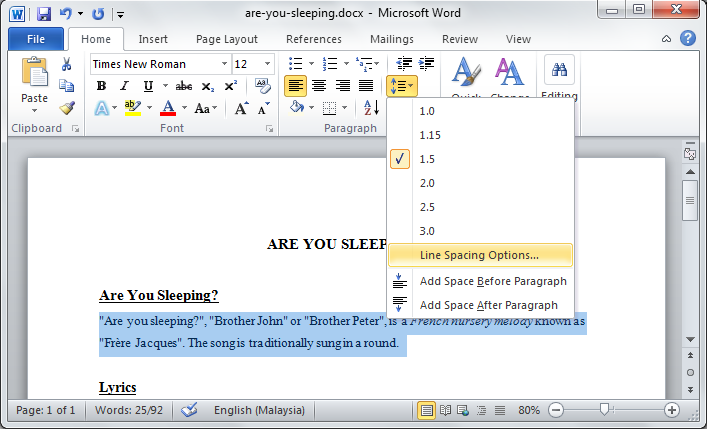
We will set a special indentation for the first line of the paragraph of the passage. Highlight the paragraph as shown in the picture. Click Home Tab>> Line and Paragraph Spacing>>Line Spacing Options…
 * * |
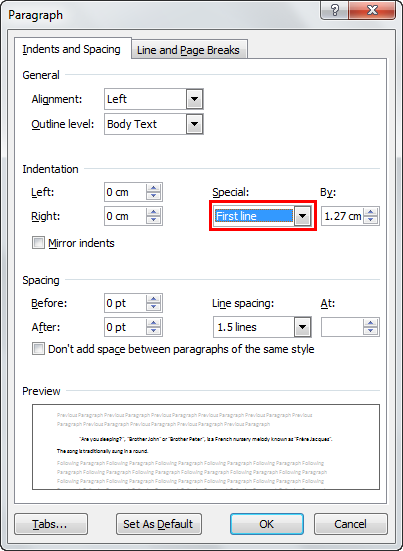
When Paragraph Dialog Window pops up, go to Indentation section and choose First Line for the Special item. Click OK.
 * * |
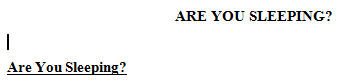
The output will be as follows. Notice that the first line is indented to the right.
 * * |
The final output will be as follows.
 * * |
Save the document and close MW2010.
Inserting Images
(Expected duration: 30 minutes)
This tutorial guides you to insert images on a document.
Start MW2010. Open “are-you-sleeping-images.docx”.
Click on the beginning of the empty line between the passage title and subtitle as shown below.
 * * |
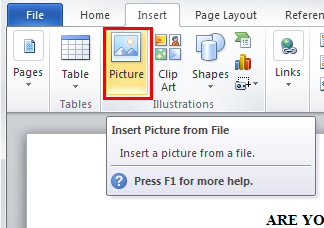
Click Insert Tab>>Picture.
 * * |
When the Insert Dialog Window appears, browse the file “are-sleeping.jpg”.
 * * |
The image is inserted to the document and is aligned to the left of the page.
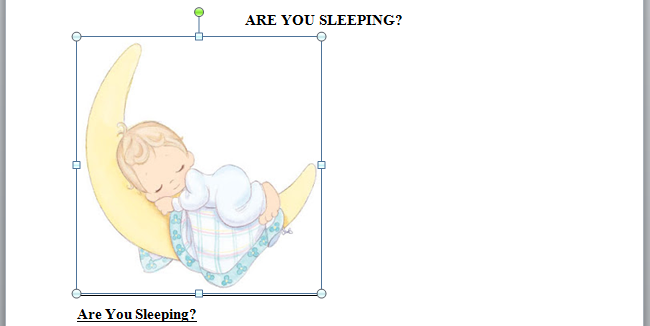 * * |
You can align it to center by clicking Home Tab>>Align Center.
 * * |
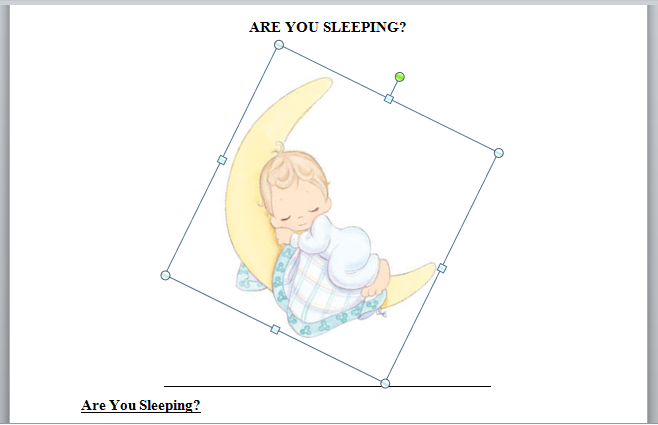
Notice the green node on top if the picture. It is the rotation control point of the picture. Click the green node and move the mouse away to right or to the left of the node. Try to rotate the picture so that it looks like below.
 * * |
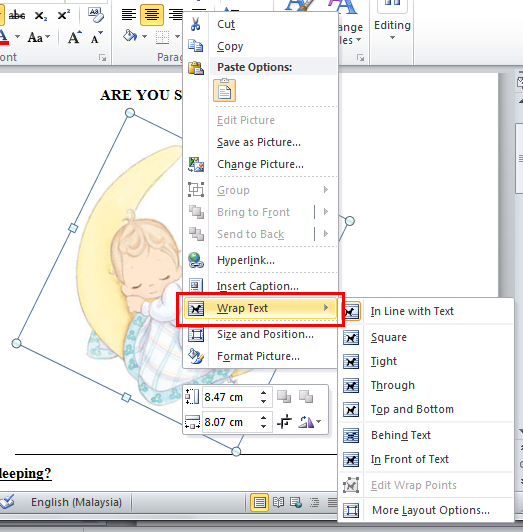
Next, we will modify the Text Wrapping of the picture. Right-click the picture. Go to Wrap Text. A sub-menu shows text wrapping options. Choose “Behind Text”.
 * * |
The final output will look as follows. Bear in mind that you need a quality colour printer to print this document. Otherwise, the output may not look good.
 * * |
Save the document and close MW2010.
Header and Footer
(Expected duration: 15 minutes)
This tutorial guides you to insert header and footer to a document.
Open “are-you-sleeping-header-footer.docx”
Click Insert Tab>>Header
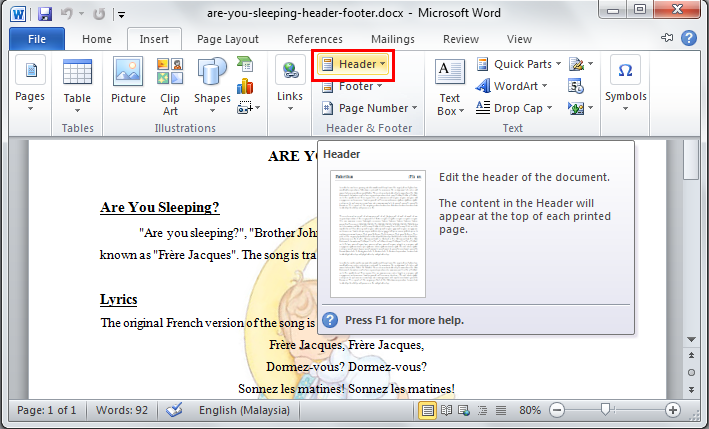 * * |
There are some pre-set header styles. Choose Blank.
 * * |
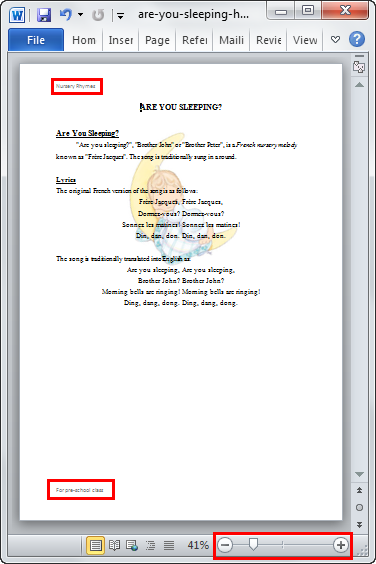
The header section is placed on the document. Type Nursery rhymes in the Header textbox marked by [Type text] label. Notice that the content section is dimmed. It is not possible to edit the content now. Double click the content section to exit from Header section editing.
 * * |
Now, insert the Footer section. Click Insert Tab>> Footer>>Blank.
 * * |
Type “For pre-school class” at the Footer section. Double-click Content section when you are done.
 * * |
You can use the viewing slider to minimize the page layout view to see both the header and footer sections on the page.
 * * |
Save the document and close MW2010.
No comments:
Post a Comment